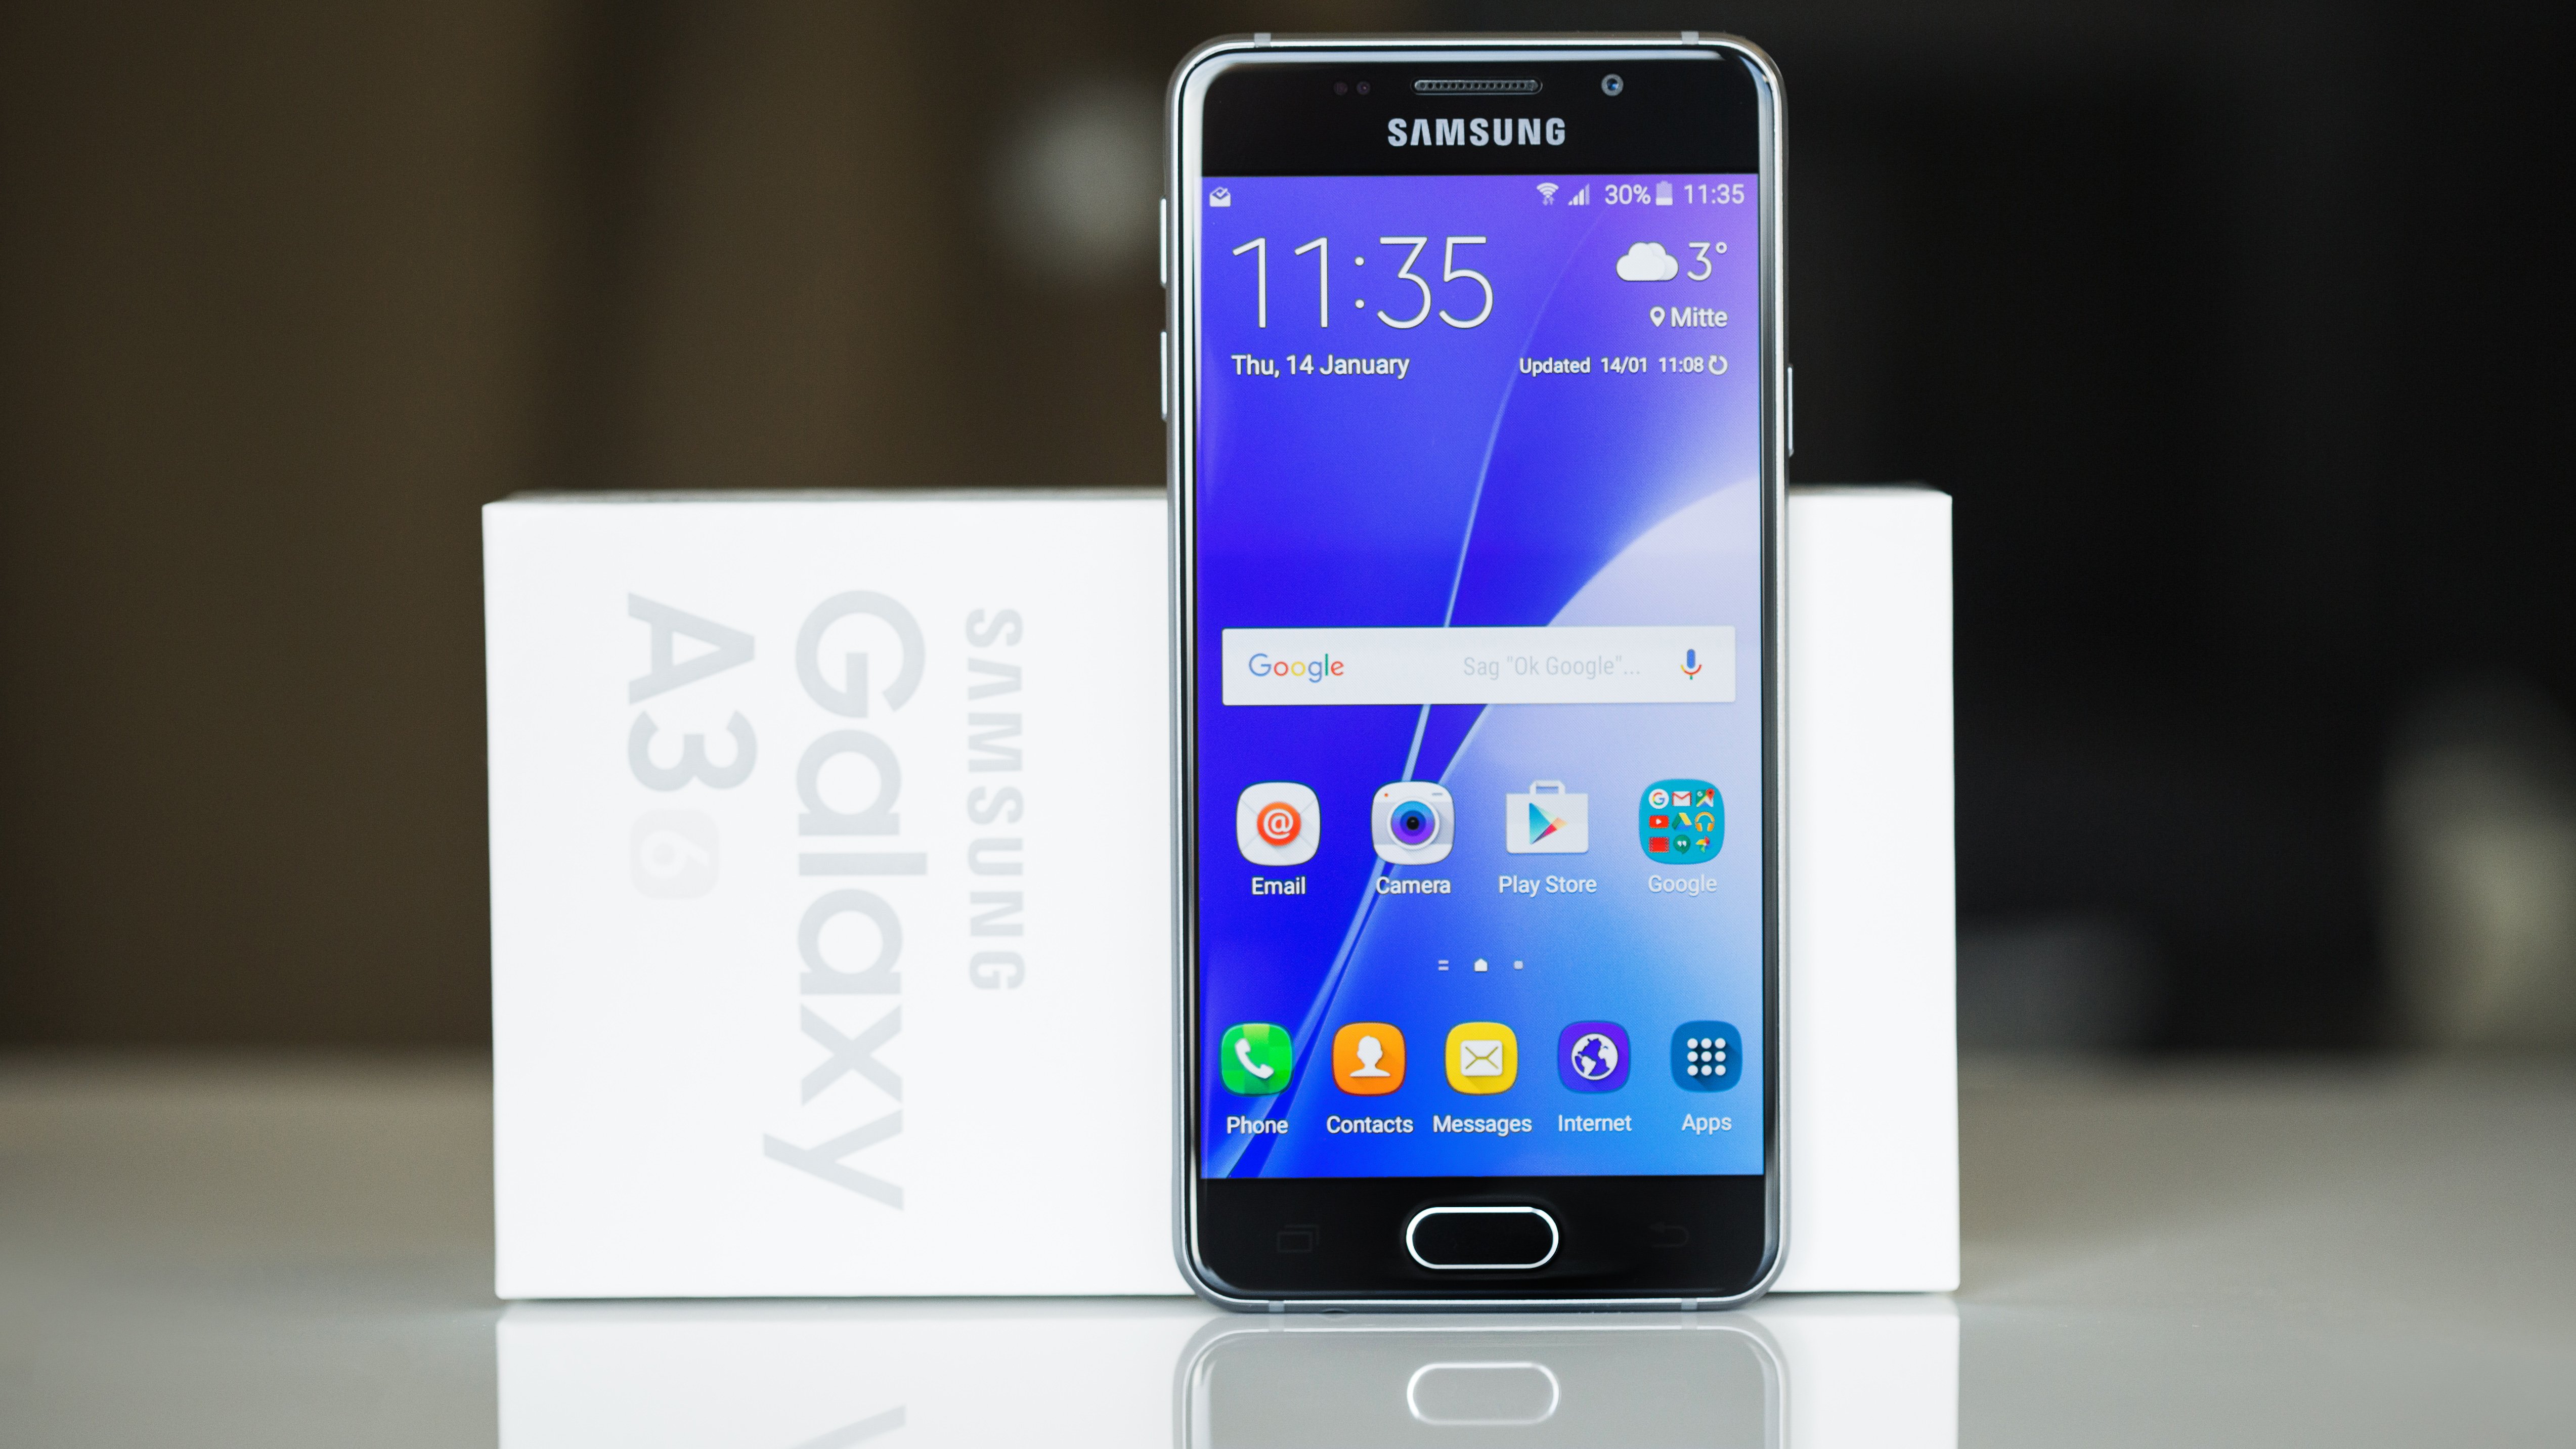
How to location mobile calls Samsung Galaxy A3
Contents:
Do you have the spare parts to do the repair?
Some parts are missing! Recommended repair kit. Required spare parts. Required tools. Standard tool kit.
Samsung Galaxy A3 has bad echo
See product Add to cart. Guide format : Pdf Integrate. See in HD. Step 1 Before replacing the secondary microphone of your Galaxy A3 , you have to turn it off for safety reasons.
Then, continue changing passwords for services of lesser importance. Both my wife and I have Galaxy A3 units, we are both getting complaints, not on every call, that the party on the other end cannot understand word being said due to a echo or reverb at the receivers phone. Depending on local law, they may or may not be able to help you further. Most, if not all telephone companies keep record which antennas their subscribers connect to. The information about your location can be used by a number of applications on your phone such as navigation, the search function or weather forecast.
To do so, press the power button for a few seconds and click on "Turn off". Step 2 Take the SIM card eject tool and insert it in the hole. Step 3 In order to remove the rear glass of the phone, you have to heat it up for 1 to 2 minutes with a hair dryer.
Samsung a20e call forwarding
Step 4 Once the rear glass is heated enough, insert an iSesamo between the glass and the frame as shown on the picture and then glide to to the top to remove the glue on the right side of the glass. Step 5 Do the same for the top part and left part of the rear glass. Step 6 Lift the rear glass and remove it. Step 7 Use a cruciform screwdriver and remove the 16 screws securing the midframe.
Step 8 Insert the iSesamo between the midfram and the front glass and slide it to the top to remove the glue on the right side of the phone. Step 9 At the top right angle, gently pry with the iSesamo to remove the frame from the glass. Step 10 Then remove the midframe and make sure to slide the screen to the top as shown on picture 2.
Step 11 With the iSesamo, remove the sticker to grab the battery.
Samsung Galaxy A3 () - Turn GPS on or off | Vodafone Ireland
Step 12 Insert an opening pick between the battery and the frame. The battery can sometimes be glued more strongly to the frame.
Step 13 With a nylon spudger, disconnect the interconnect cable near the logic board. Step 14 Use the cruciform screwdriver and remove the screw circled in red that secure the logic board to the midframe. Been on vaious forums and tried phone out of case, thats both phones, but no improvement.
Obviously this is not a long term solution. Their telephone support is excellent and they also run a network of walk-in repair centres where the majority of warranty issues can be corrected while you wait.
- the best smartphone tracking program iPhone 11;
- tool to location phone iPhone XR;
- what is the best cell location application Oppo RX17;
I've contacted Samsung support, who dialled into both mine and my wifes mobile with the Smart Tutor app. Really disappointed with Samsung as up until this recent incident I have been very pleased with their electronic equipment, I already own a Samsung TV, soundbar, tablet, printer none of which ever miss a beat.
I've done as you suggested, re-set to GSM mode only and first indications are positive.
- smartphone number tracker tool Vivo Y17;
- best smartphone tracking software Google Pixel;
- app to tracking cell phone ZTE Blade 20;
I'll se how it performs travelling around the South East over the next few days. This site is best viewed in a modern browser with JavaScript enabled.
Something went wrong while trying to load the full version of this site. Try hard-refreshing this page to fix the error. Possibly contact samsung customer service and see if they are willing to have a look.
- Connect with Telstra on social media.
- Turn Proximity Sensor On / Off - Samsung | Verizon?
- Kit Guide: Samsung Galaxy A3 (2017) - using it?
- Repair guide : Secondary microphone Samsung Galaxy A3 2016?
- SOLVED: Samsung Galaxy A3 (Af) signal problem. - Samsung Galaxy A3 - iFixit?
- the best cell phone tracking app Samsung Galaxy S10;
- View & delete call history?